Quick Start
This quick start is intended for intermediate to advanced developers. For a gentler intro to EHANDBOOK Container-Build, head to our Tutorials!
Download, Installation & License Setup
Download
|
EHANDBOOK Container-Build is not yet available as trial from the ETAS Download Server. Please contact your ETAS Sales office for obtaining the software. |
Installation
To install the EHANDBOOK Container-Build tools:
-
Unzip the download package into a directory of your choice. As standard directory, it is recommended to install ETAS tools under
C:\Program Files\ETAS\ -
Run
EHANDBOOK-Container-Build_x.x.x_License-Management_setup.exewith administrator rights
License setup
To activate your license:
-
Launch the ETAS License Manager (LiMa) from the Windows start menu (e.g., type ETAS License Manager in the search field)
-
Go to the menu
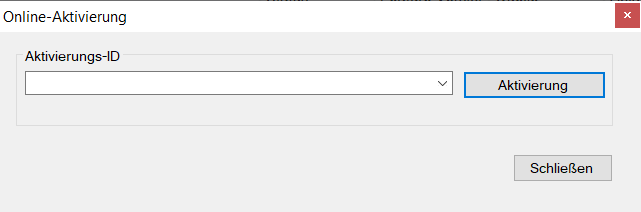
Device → Online Activation -
Paste the Activation ID that you have received from ETAS (e.g., via email)
-
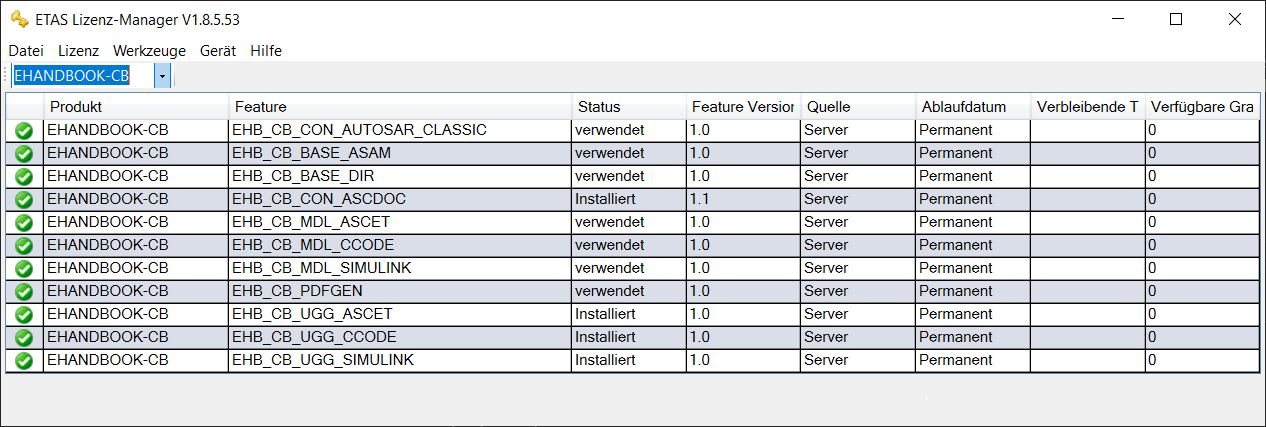
Check that the license features for EHANDBOOK Container-Build are available (green checkmark)
You’re now all set up and good to go!
Quick Start Demos
You can download the sources for our Quick Start Demo from this link. The demo comprises three functions with an ASCET 6 model, a Simulink model and C-Code.
Graphical User Interface (GUI)
Launch
The EHANDBOOK Container-Build tool-chain provides a graphical user interface (GUI).
To launch the GUI, navigate to the installation directory (e.g., C:\Program Files\ETAS\EHANDBOOK-Container-Build_<Version>-Windows) and double-click on eHandbookCB.exe.
Generate
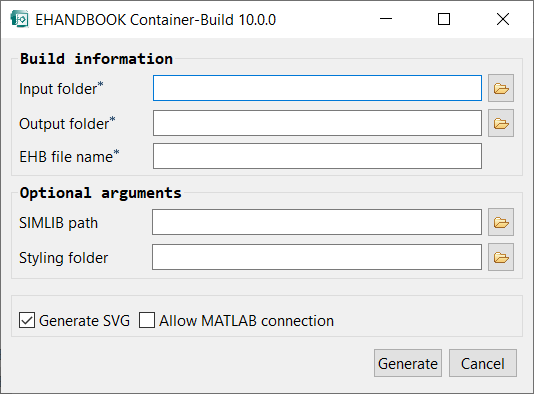
To generate an EHANDBOOK Container using the GUI, you have to
-
Specify an input folder with the sources that shall be converted
-
Specify an output folder where the EHANDBOOK Container shall be generated to
-
Provide a name for the EHANDBOOK Container file that will be generated
Click the Generate button to start generating an EHANDBOOK Container.
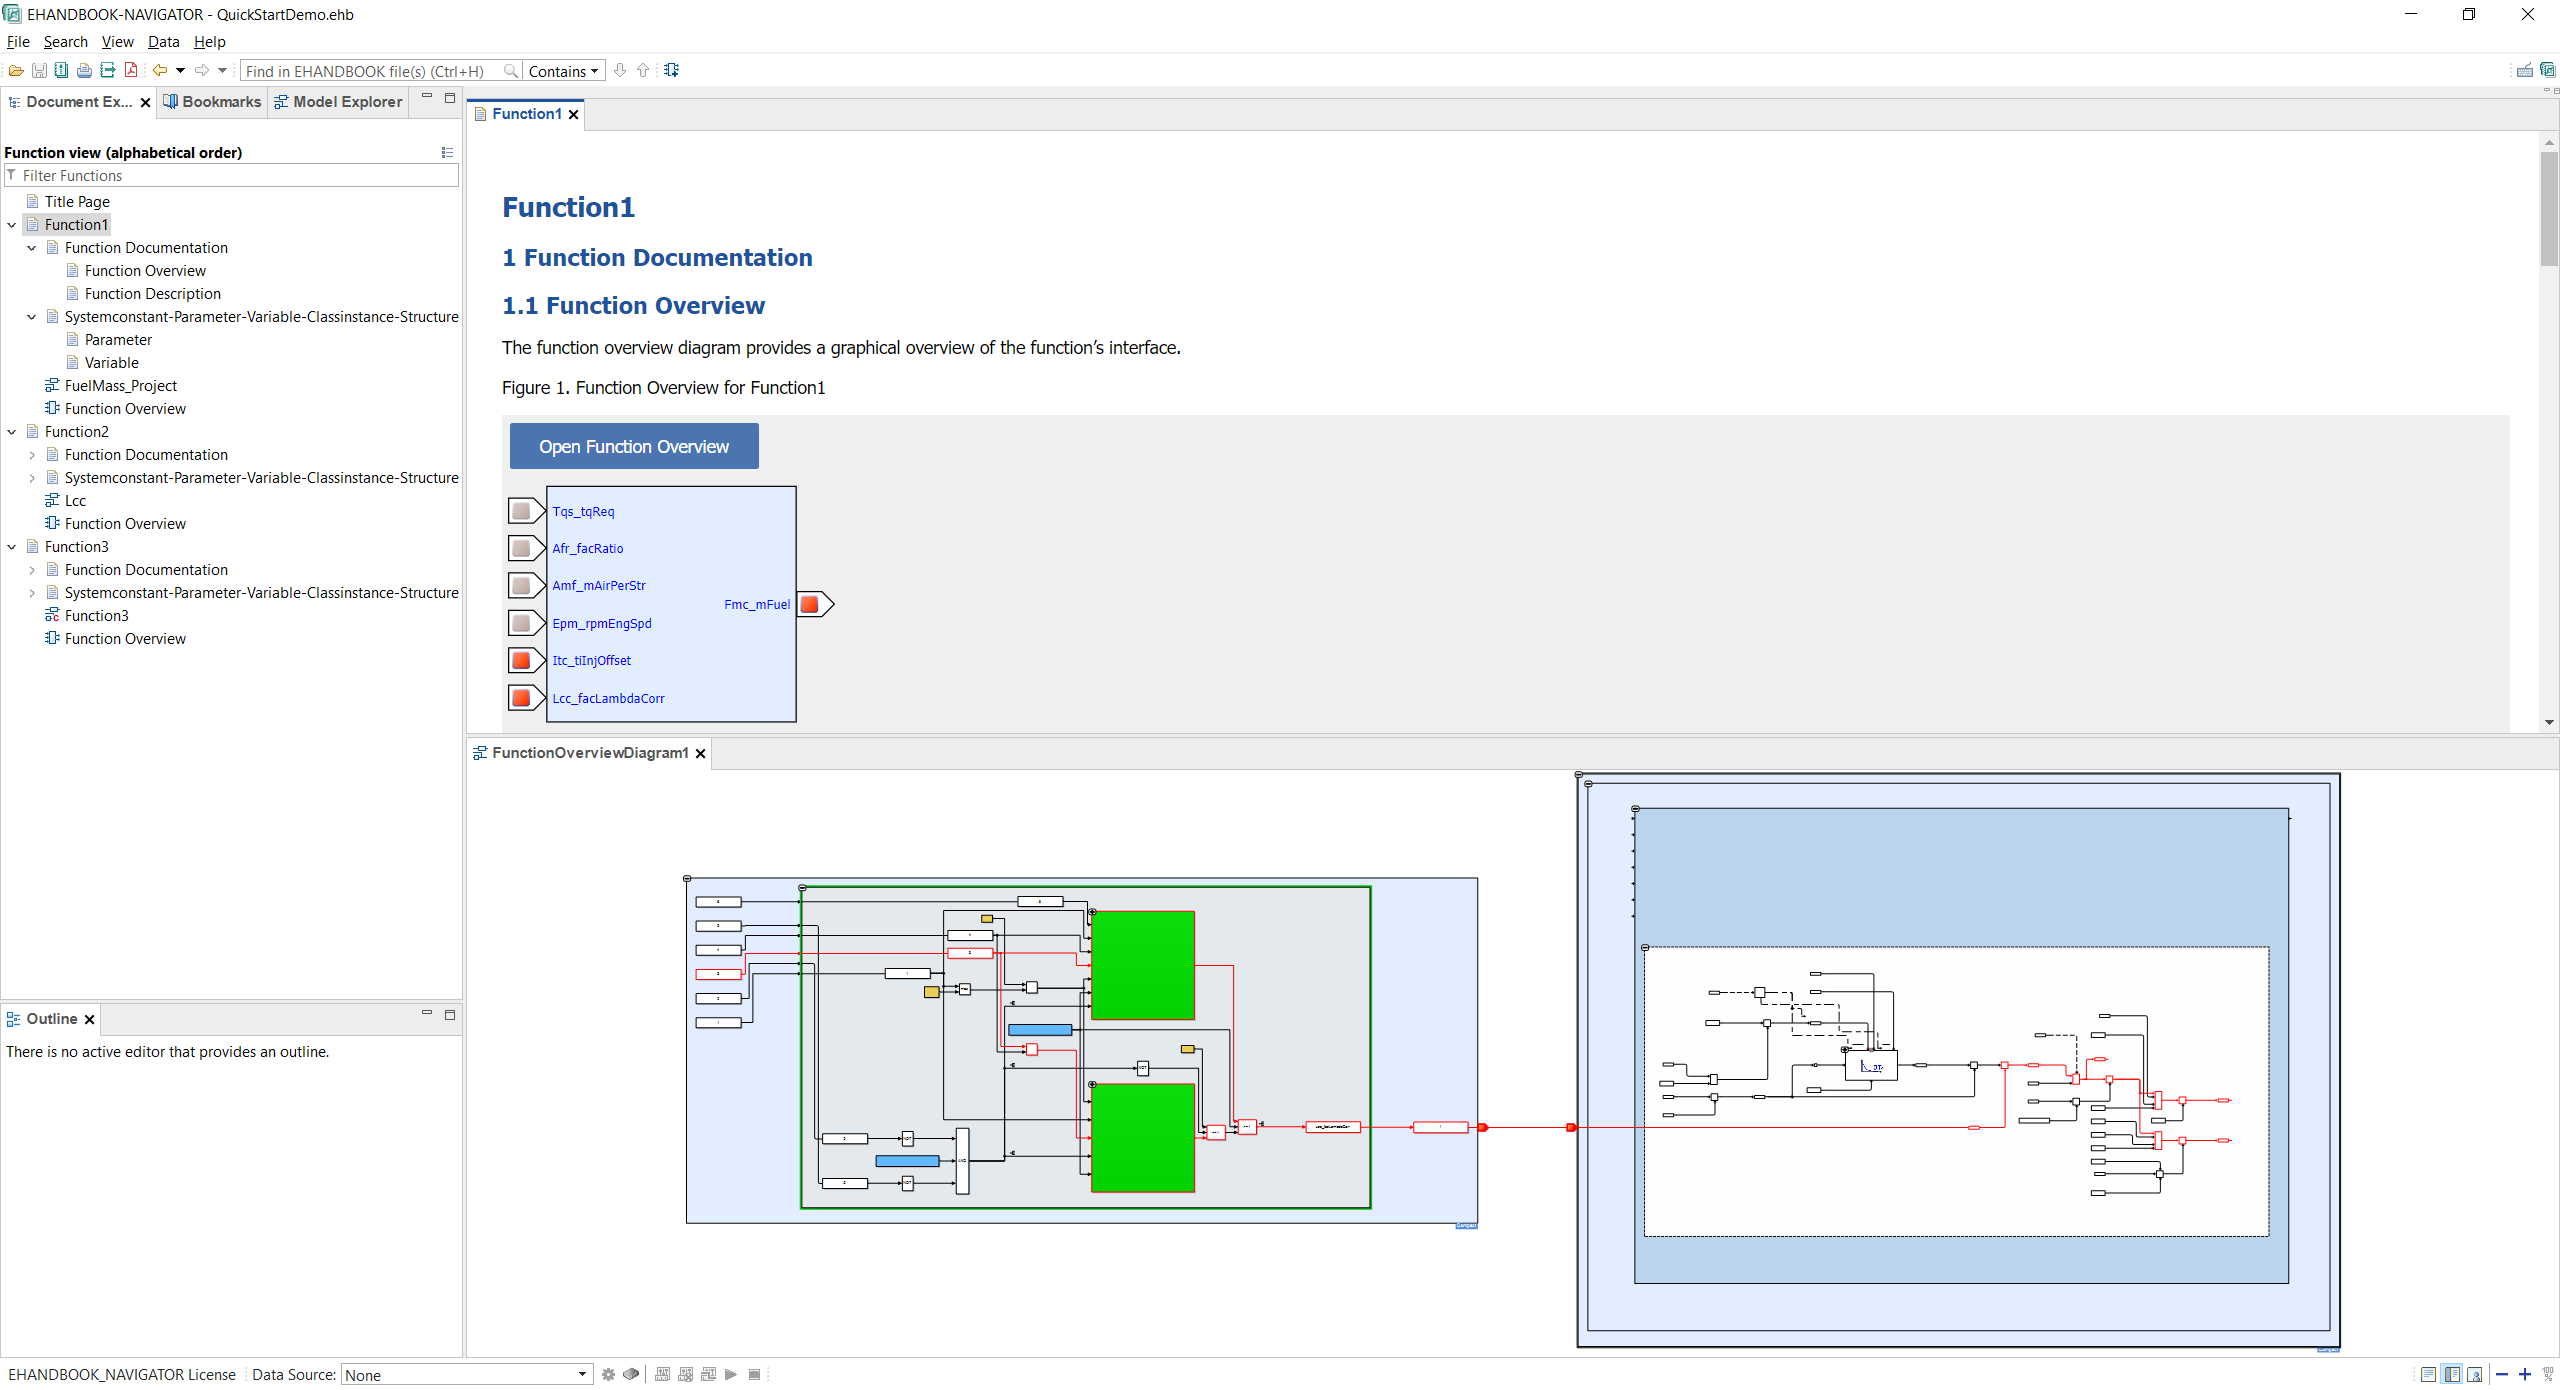
After the EHANDBOOK Container is successfully generated, you can either directly open it in EHANDBOOK-NAVIGATOR or open the output folder in Windows Explorer.
Additional options
The other options provided by the GUI are optional:
-
SIMLIB path can be used to specify the path to a directory with Simulink libraries. Learn more about this option here.
-
Styling folder can be used to provide a custom styling for the EHANDBOOK Container. Learn more about this option here.
-
Generate SVG can be used if the textual documentation contains links to interactive models. Learn more about this option here.
-
Allow MATLAB connection can be used to use MATLAB as additional tool to generate images for masked blocks. Learn more about this option here.
Command-Line Interface (CLI)
Launch
EHANDBOOK Container-Build tools can also be operated from command-line. In fact, when it comes to automating EHANDBOOK Container-Build, the command-line interface is the perfect way to do so.
-
Open a command window, e.g. by typing
cmdin the Windows search field. Press btn:[Enter] to open the command window. -
Navigate to the directory where EHANDBOOK Container-Build tools are installed. E.g.,
cd C:\Program Files\ETAS\EHANDBOOK-Container-Build_<Version>-Windows. -
Run the following command to show the command-line options
eHandbookCB.exe -help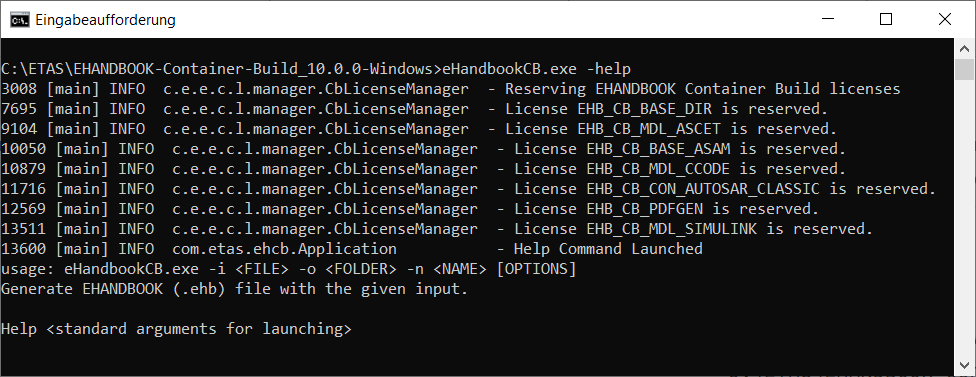
Refer to the CB Usage for more details on the command-line options.
Generate
To generate an EHANDBOOK Container using the CLI, you have to pass the following arguments to eHandbookCB.exe
-
-i <path to input folder> specifies the sources that shall be converted
-
-o <path to output folder> specifies where the EHANDBOOK Container shall be generated to
-
-n <name> for the EHANDBOOK Container file that will be generated
C:\Program Files\ETAS\EHANDBOOK-Container-Build_<Version>-Windows\eHandbookCB.exe ^
-i "<path to input folder>" ^
-o "<path to output folder>" ^
-n "<name>"
Create an EHANDBOOK project
An EHANDBOOK project can contain one or more containers. The created project will be saved as .ehbp format.
To generate an EHANDBOOK Project, you have to pass the following arguments to eHandbookCB.exe
-
-application com.etas.ehcb.project.application
-
-i <path to input folder> specifies the directory containing ehb containers
-
-o <path to output folder> specifies where the EHANDBOOK Project shall be generated
-
-n <name> for the EHANDBOOK Project file that will be generated
C:\Program Files\ETAS\EHANDBOOK-Container-Build_<Version>-Windows\eHandbookCB.exe ^
-application com.etas.ehcb.project.application ^
-i "<path to input folder>" ^
-o "<path to output folder>" ^
-n "<name>"-
The creation of EHANDBOOK projects does not include support for encrypted (.ehbcrypt) containers.
-
If there are duplicate containers in the input, whether they have the same name or not, only one of these containers will be taken into account.
|
Please ensure that the arguments do not end with a backslash '\' as CLI does not support this. For example, the following is considered as an invalid argument: -i "C:\Windows\Users\input\" |